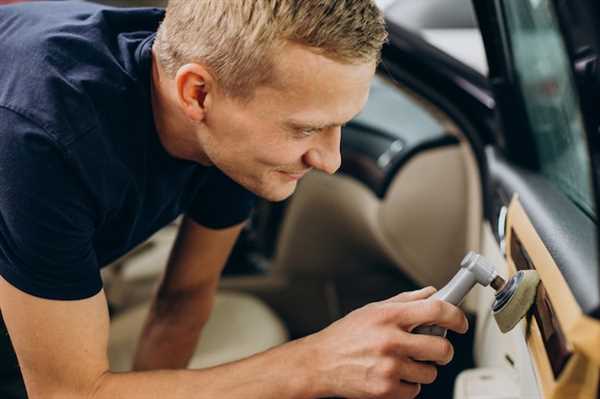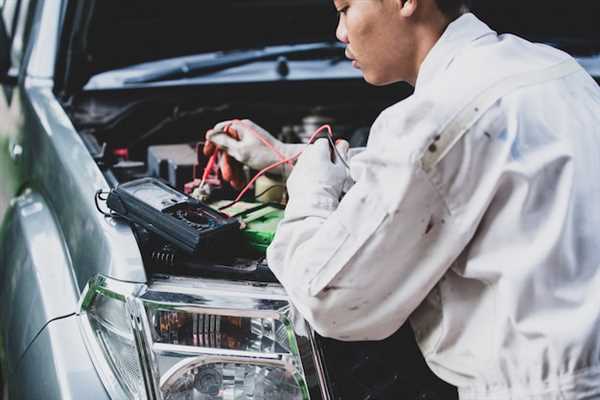
Begin this task with a thorough evaluation of the vehicle’s interior components. Inspect for damaged or worn parts that require swapping out. Prioritize functionality alongside aesthetics while selecting suitable replacements.
Next, gather high-quality elements that match the original specifications. Opt for aftermarket or OEM parts that ensure longevity and performance. Compatibility is key; verifying dimensions and features may save you time and effort down the line.
Assemble the right tools for disassembly and installation before proceeding. This preparation will streamline the entire process, making removal and fitting of new components more manageable. A systematic approach will minimize the risk of damage during transformations.
Finally, secure your new parts firmly, ensuring they align seamlessly with the existing structure. Take the time to test functionality after installation, making adjustments if necessary. Completing this task not only enhances the vehicle’s appeal but also fortifies its practicality.
Replacing Interiors in Salvage Cars: A Step by Step Guide

Begin by gathering all necessary parts, including seats, carpeting, door panels, and headliners. Conduct a thorough assessment of existing components to identify what needs to be removed and replaced.
Next, carefully detach old items using appropriate tools. Ensure you have a trim removal tool to avoid damaging the vehicle. Keep all screws and fasteners in a clear container for easy access during reinstallation.
Once the interior is stripped, clean the surfaces to remove dirt and debris. This step is crucial to ensure that the new components adhere properly and look aesthetically pleasing.
Install the new carpeting first, starting from the rear of the vehicle and working forward. Ensure that it fits snugly and that all edges are secured. Use adhesive where necessary to prevent shifting.
Proceed by installing the seats. Attach brackets or rails securely to avoid movement during use. Check for alignment and adjust as necessary to ensure comfort and safety.
Replace the door panels next. Start by reattaching any wiring harnesses for power windows or locks before securing the panel itself. Ensure that all clips and screws are tightly fastened to prevent rattling.
Finish the process with headliners, which often require delicate handling. Lay the fabric over the adhesive surface, smoothing out wrinkles and ensuring an even fit across the ceiling.
After all replacements are completed, conduct a thorough inspection. Test each component for functionality, including seats, doors, and any electronic features. A meticulous review before the final assembly can prevent future issues.
Assessing Damage and Planning Interior Replacement

Begin by examining the condition of the components within the vehicle. Look for obvious signs of wear, damage, or stains on upholstery and carpeting.
Next, create a checklist to evaluate specific areas:
- Seats: Check for tears, burns, or broken frames.
- Dashboard: Inspect for cracks, warping, or missing sections.
- Headliner: Look for sagging or discoloration.
- Carpets: Assess for stains, mildew, or fraying.
- Door panels: Verify integrity and any missing trim pieces.
After completing the assessment, prioritize the components based on severity and budget. Create a replacement plan that details which parts need immediate attention versus those that can wait.
Research available parts that match the make and model. Online marketplaces, local salvage yards, and auto parts stores are valuable sources for obtaining necessary items.
Always consider the compatibility and condition of the replacements. Used components should be thoroughly inspected for functionality.
Document the estimated costs for each part and allocate a budget. Include potential labor costs if professional assistance is required for installation.
Sourcing and Selecting Quality Salvage Parts
Identify trustworthy suppliers by researching reputable yards or online platforms that specialize in quality components. Prioritize establishments with positive reviews and clear return policies.
Inspect the condition of used parts thoroughly. Look for minimal wear, rust-free surfaces, and unblemished materials. Request detailed images or, if possible, visit in person for a comprehensive assessment.
Verify compatibility of each replacement item with your specific model. Utilize part numbers or consult technical databases to ensure accurate fitment and functionality.
Consider the history of the components. Inquire about previous usage, accident involvement, or any repairs made to validate integrity and reliability.
Evaluate pricing against new alternatives, bearing in mind the overall value and longevity of the parts. Sometimes spending slightly more guarantees enhanced durability.
Ask for warranties whenever available, which can provide peace of mind regarding the lifespan of your selected replacement items.
Network within automotive communities, forums, or social media groups to gain insights and recommendations about top-rated suppliers and sought-after components.
Step-by-Step Installation of New Interior Components
Begin by removing the existing components carefully. Utilize a set of screwdrivers and trim removal tools to detach panels without causing damage. Next, inspect all connecting parts to determine what needs replacement.
Gather required parts from reputable suppliers, ensuring compatibility with your vehicle model. This includes obtaining seat covers, dashboards, and flooring materials that match your specifications.
Proceed to prepare the workspace. Clear out any unnecessary items to create an organized environment conducive for installation. Lay down protective coverings to prevent scratches or damage to the vehicle surfaces.
For seating, detach old seats by unscrewing them from their mounts. Install the new seat components by aligning them with the pre-drilled holes, ensuring all bolts are tightened securely. Test the seating for stability before securing any additional covers.
Transition to dashboard installation. Disconnect any electrical connections carefully prior to removal. Fit the new dashboard piece into place, reconnect all wiring harnesses, and ensure gauges function correctly.
Lastly, for flooring, remove old carpets or mats entirely. Clean the underlying surfaces before laying down new flooring materials. Adhere them properly to avoid future peeling or movement during use. Finish up by reassembling any trim pieces that were removed earlier.
Regularly check all newly installed parts for wear and tear over time, ensuring longevity and maintaining vehicle aesthetics.


